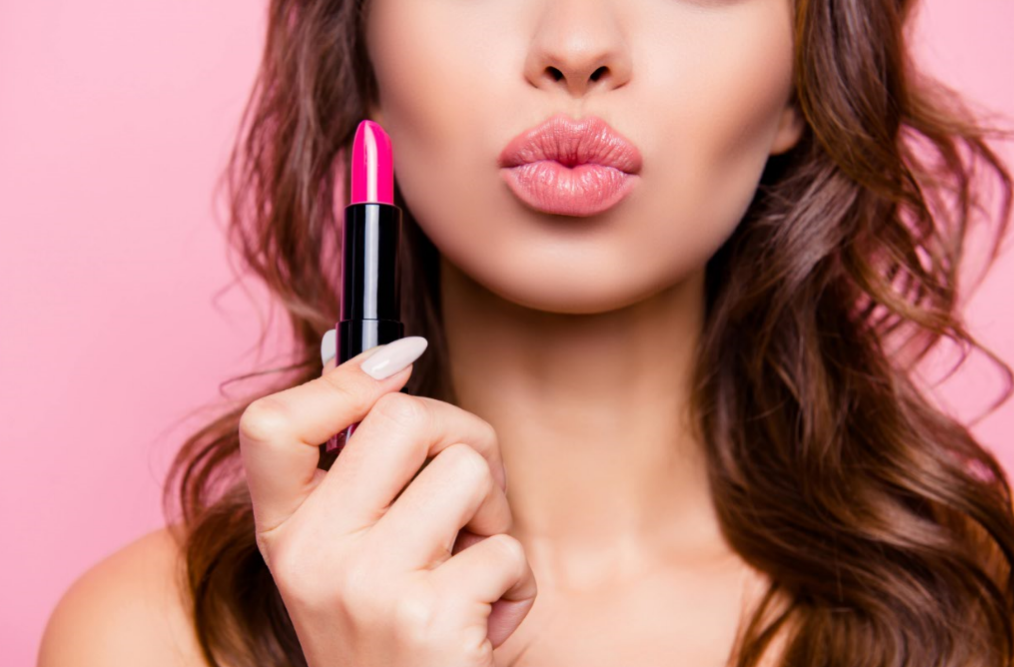
Lipstick 101 from Our Clean-Beauty Pros
Achieve Flawless and Long-lasting Lip Color with These Expert Tips
Lipstick is truly one of the beauty industry’s biggest secret weapon because of how versatile it is. Heading to a fancy dinner but don’t have time for a full 20-minute makeup routine on-the-go? Use the 2 major beauty essentials: mascara and a bold lip color. Looking for a simple, natural look for errand day? Swipe on your favorite nude lipstick and some concealer and you’re ready for the day. No matter how you choose to wear your favorite lip color, it’s got your back - or in this case, your lips.
For long-lasting lip color, there are a few quick, easy and crucial steps to keep in mind. Check out our step-by-step guide from our clean-beauty pros and learn how to apply lipstick like a pro.

Step 1: Exfoliate
The culprit of a flawless lipstick application is dry, flaky skin. Prior to even starting your lipstick application, you want a smooth, moisturized canvas. The best way to get a clean, smooth canvas is to use a little bit of lip scrub. Also, rub a pea-sized dollop of lip scrub all over your lips and massage in a gentle circular motion using your fingertips.
Tip: Don’t have lip scrub on hand? Mix coconut oil or olive oil with sugar!

Step 2: Moisturize
Got your fresh base? Perfect. Now, it’s time to moisturize your lips. The best way to do so is by using an ultra-hydrating lip balm! This is an essential step if you are using a matte lipstick or a lip stain, as those tend to be more drying compared to other formulas.
Step 3: Finding the Perfect Shade
Now, it’s the fun part: finding the perfect color! With millions of nude to bold colors to choose from, finding the perfect shade can be a little overwhelming. If you are new to lipstick, it’s best to start the selection process by figuring out if you have warm or cool undertones. In addition, the easiest way to find out is to look at the veins on your wrist under natural light! Furthermore, if they look slightly green, you have warm undertones. They appear to be a shade of blue, you have cool undertones. If you see both green and blue, you have neutral undertones.
Step 4: Apply Lip Liner
Start at your cupid’s bow (the two curves at the center of your top lip) and slowly work around the edges of your lips for an outline. Then, fill in the lips using the same lip liner. For a more plump look, draw outside your natural lip line.
Step 5: Apply Lipstick
There are many variables in this step because there are so many types of lipstick applicators, such as the traditional tubed lipstick, liquid lipstick, lip stains, lip tint… the list goes on! No matter which you prefer, it’s always easier to control and apply with solid lipsticks. No matter what type of lipstick you are working with, it’s important to always start by first applying lipstick along the center of your bottom lip, swiping it back and forth 2-3 times. Gently press your lips together to easily distribute the lipstick to your upper lip. Then, simply touch up the outer corners of your lips, remembering that a little goes a long way.
Step 6: Blotting
Just like lip liner, blotting is an important step you might be tempted to skip, but trust our eco-beauty pros: this is the step that’ll seal your look for the entire day. This essential step is important for removing excess product from transferring onto your wine glass or anything else your luscious lips might touch. To properly blot your lipstick, simply fold a piece of tissue paper in half. Place the tissue paper in between your upper and bottom lips, and gently press your lips together until you have a clean, light layer of lipstick on your lips.


